Sticky pans, bitter smoke, sugar glued to the spoon… every home baker has a caramel horror story tucked away.
Yet the fix isn’t a new gadget or a chef-level technique. It’s a tiny change in the way you start and handle your sugar, and it flips caramel from stressful to almost soothing.
Why caramel feels like pastry’s final boss
Caramel looks straightforward: sugar, heat, maybe a splash of cream. Then reality hits. One minute it’s pale and lifeless, the next it’s dark, acrid and heading for the bin. Or it goes the other way and seizes into a gritty, chalky mass.
Professional chefs train for years to control that narrow window between perfect amber and burnt bitterness. Home cooks often assume this level of control is out of reach. It isn’t.
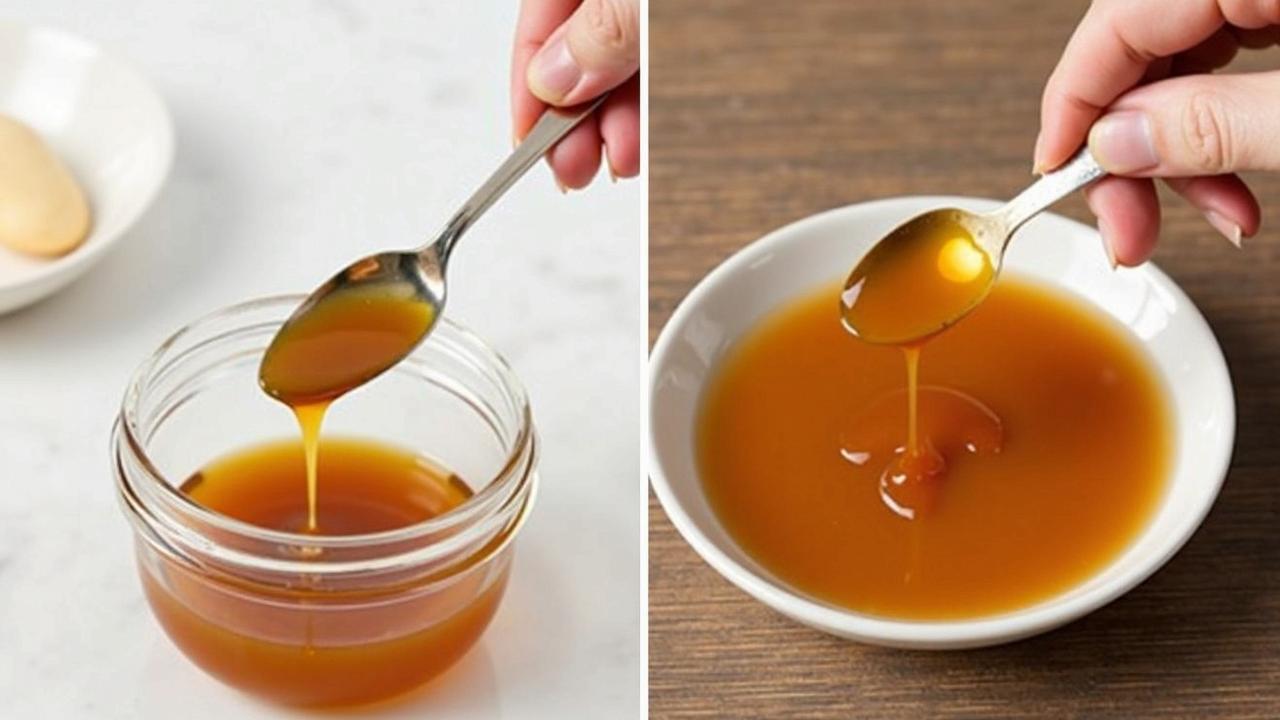
The most effective safeguard against burnt or crystallised caramel is simply adding water at the very beginning.
This small adjustment slows everything down and gives you room to breathe. Combined with one strict rule – hands off the spoon – it almost eliminates the two big failures: burning and crystallisation.
The simple water trick that changes everything
Traditional advice often suggests “dry caramel”: sugar alone in a pan. It melts, then browns. The problem is that it can jump from fine to ruined in seconds.
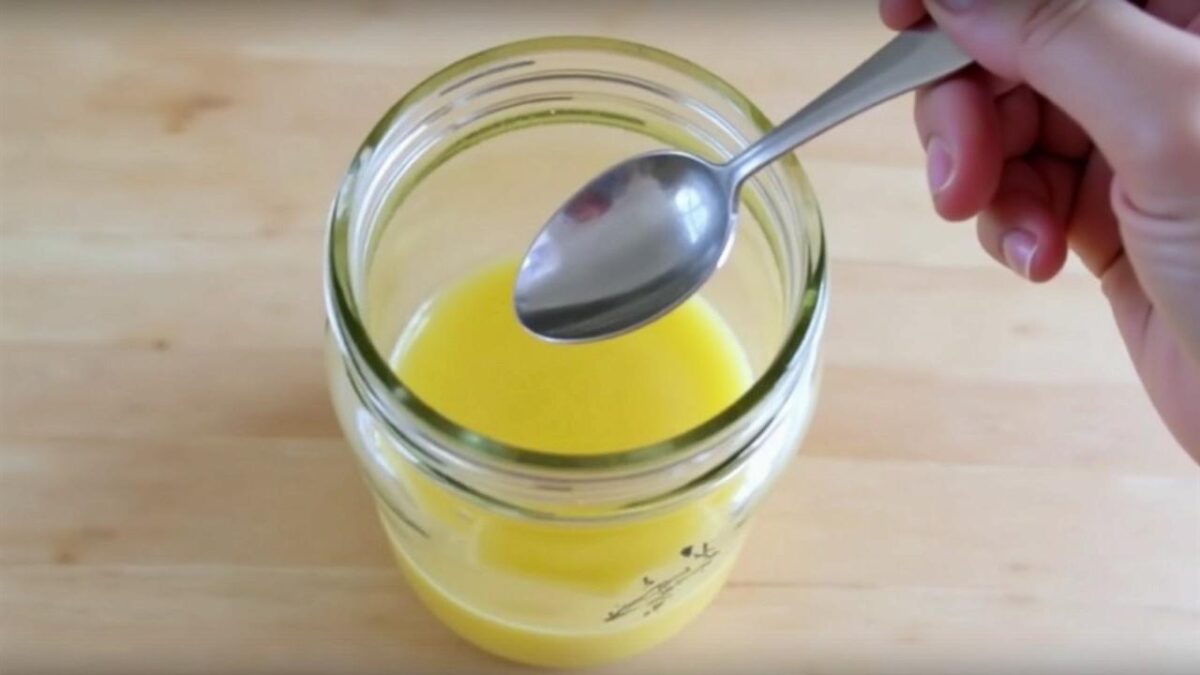
A better method for most home cooks is a “wet caramel”. You start by adding water to the sugar instead of leaving it dry.
How much water to use
Think of the water as your safety buffer, not an extra ingredient. For a standard batch, a good ratio is:
- 250 g granulated white sugar
- About 150 ml (15 cl) water
Stir the sugar and water together before turning on the heat, so every grain is moistened. Then put the pan over medium-low heat and stop stirring entirely.
➡️ The jury still can’t believe it: these two French brothers just won the pastry world championship
➡️ Not all balsamic vinegars are created equal: how to recognise real balsamic from Modena
➡️ Are bottled flavoured waters treated? 60 Millions de consommateurs experts shed light on the issue
➡️ Nationwide recall in France after goat’s cheese found contaminated with harmful bacteria
➡️ One ordinary ingredient is all you need for a puffy, restaurant-style omelette
➡️ Rodent droppings and carcasses: Yvelines hypermarket butcher counter reopens after shocking closure
➡️ Paris boils over: the world’s most Michelin-starred female chef opens a dream restaurant
By diluting the sugar, you slow the cooking, gain a more even colour and get a silky, fluid caramel with far less effort.
The water will slowly come to a simmer and then a boil. As it evaporates, the sugar solution thickens and finally starts to colour. Because the heat is more gradual and even, hotspots are less likely to burn the sugar at the edges.
The “no stirring” rule that saves your caramel
Once the pan is on the heat, your biggest enemy is the spoon. Caramel behaves differently from most sauces and custards. Stirring, which usually prevents lumps, actually creates trouble here.
When you stir a near-boiling sugar syrup, you can splash tiny droplets onto the cooler sides of the pan. Those droplets crystallise, then fall back into the mixture and act as seed crystals. The result is a grainy, cloudy mass instead of clear amber caramel.
For smooth caramel, keep utensils out of the pan. No whisk, no spoon, no spatula – just heat and time.
What to do instead of stirring
If you see uneven colouring or feel the urge to intervene, gently swirl, don’t stir:
- Hold the handle firmly with an oven glove.
- Lift the pan slightly off the heat.
- Rotate it in small circles two or three times.
That’s enough to redistribute the syrup without dragging in crystallised bits from the sides. After that, step back and let it cook quietly. Patience does more for caramel than constant attention.
Pick the right pan for stress-free caramel
Gear will not turn you into a pastry chef overnight, but it can either help or sabotage you. A cramped, thin pan almost guarantees uneven patches that burn quickly.
| Pan feature | Why it matters for caramel |
|---|---|
| Wide base | Spreads the sugar into a thin, even layer so it colours uniformly. |
| High sides | Protects against splashes, especially once you add cream or butter. |
| Thick or copper base | Distributes heat evenly and reduces hot spots that can burn sugar. |
Copper pans are beloved in professional pastry kitchens for precisely this reason: they conduct heat quickly and evenly, and respond fast when you lower the flame. For most home kitchens, a heavy-bottomed stainless-steel saucepan works perfectly well.
As for ingredients, simple white granulated sugar is your friend. Brown sugar or unrefined sugars bring flavour, but they also make it harder to judge colour accurately, especially when you’re still getting used to the process.
Knowing when to stop – and how to stop fast
Caramel is like a cast-iron pan: it stays hot long after leaving the hob. If you wait until the colour looks perfect while still on the heat, it will probably be overcooked by the time you use it.
Aim to remove the pan when the caramel is a rich golden amber, not deep mahogany. Think “honey turning to copper”, not dark treacle.
Caramel keeps cooking off the heat, so pull it earlier than you think, then cool the base to freeze the colour and flavour.
The cold-water trick
To halt cooking quickly, plunge just the bottom of the pan into a bowl or sink filled with cold water. Hold it there for a few seconds, keeping water well away from the inside. The temperature drop at the base slows the caramel dramatically, giving you a stable, controlled result.
If you plan to transform the caramel into a sauce, you can also cool it slightly before whisking in warm cream or butter. That reduces spitting and makes the texture smoother.
Stopping crystallisation right to the end
Even if everything seems fine at first, caramel can still crystallise as it cools. A simple way to stabilise the syrup is to add a small amount of acid. A few drops are enough.
- Lemon juice
- White vinegar
Acid breaks up some of the sucrose molecules into glucose and fructose, which makes it harder for the sugar to snap back into neat crystals. You keep the sweetness and clarity, without turning the mixture sour. Use roughly half a teaspoon for 250 g sugar, added early in the cooking.
Flavouring your caramel without ruining it
Once you have a smooth, amber caramel, you can start playing. Aromatics should go in at the end, away from the fiercest heat, so they don’t burn or turn bitter.
Popular options include:
- Vanilla beans or extract
- Ground cinnamon or star anise
- Orange or lemon zest
- A pinch of flaky sea salt
For a classic salted caramel sauce, whisk in warm double cream, then finish with butter and a good pinch of salt. Add both gradually, off the direct heat, and keep whisking; the mixture will bubble vigorously at first and then settle into a glossy sauce.
If you see small sugar crystals forming as it cools, return the pan to very low heat and let them melt, swirling gently. In many cases, they dissolve without needing to stir.
Safety, texture and a few real-life scenarios
Caramel can easily exceed 160°C (320°F), which makes it more like molten glass than sauce. A small splash on skin can cause serious burns.
- Keep children and pets away from the hob while working with hot sugar.
- Use long-handled utensils and oven gloves when swirling or pouring.
- Never add cold water directly to boiling caramel; it can erupt violently.
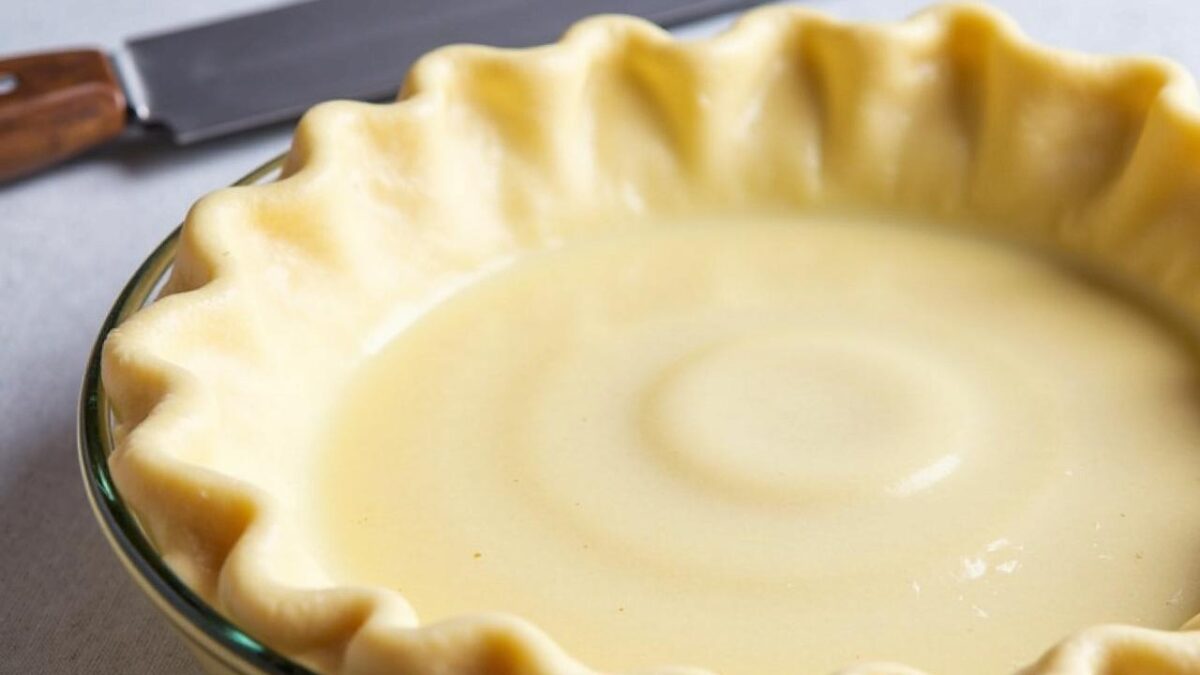
For many home bakers, the fear isn’t just burning the sugar; it’s ruining a dessert at the final stage. Picture a crème caramel ready to bake, or apples perfectly arranged for a tarte Tatin. The pan of sugar is the last hurdle.
With the water method and the no-stir rule, the process becomes predictable enough to plan around. You can line ramekins while the syrup comes to a boil, watch calmly as the colour deepens, then pour with confidence instead of panic.
Once you understand how sugar behaves – how water slows it, how acid interrupts crystals, how pans hold heat – you can start applying that knowledge elsewhere. The same principles help with glossy nougat, smooth Italian meringue or marshmallows that don’t turn grainy.
Caramel stops being a mysterious, temperamental ingredient and turns into what it really is: cooked sugar you can control, with a bit of science, the right pan and two very small but powerful tricks.